Automating MCP Servers: A Beginner’s Step-by-Step Guide
Introduction
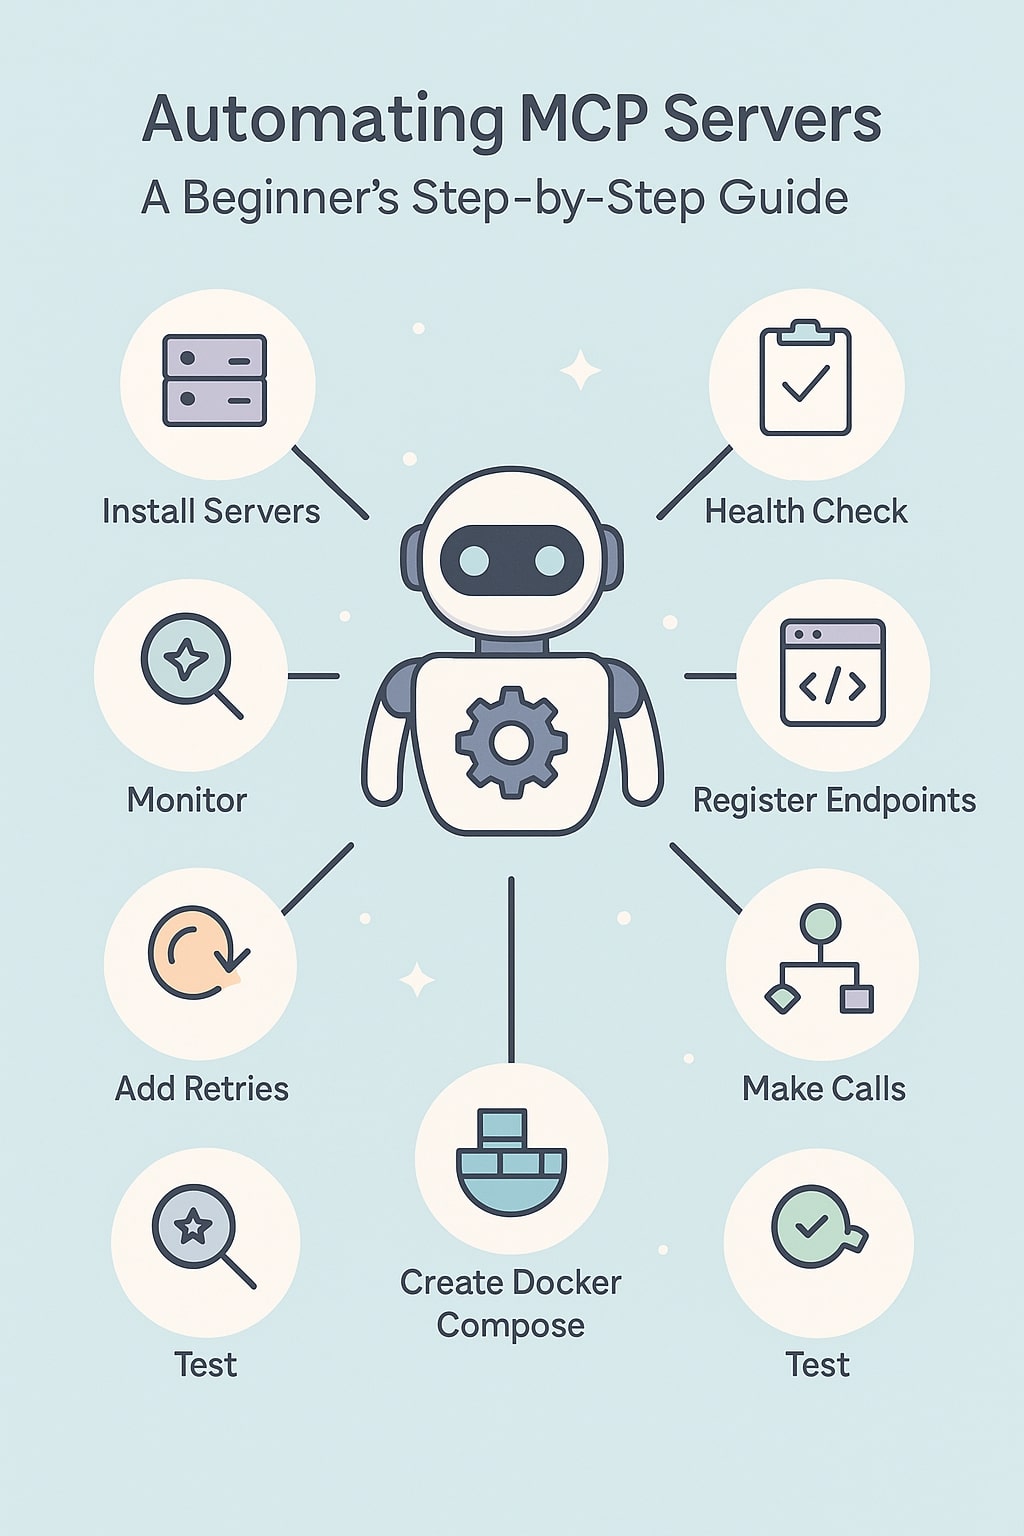
Welcome to your first deep dive into Model Context Protocol (MCP) servers! If you’re new to MCP, think of it as a set of standardized APIs that let AI agents (large language models) connect to powerful external services—like memory stores, web scrapers, or file systems—without custom integration code each time. This guide walks you through every step to:
- Install basic MCP servers
- Configure them centrally
- Register them automatically in your agent
- Trigger calls seamlessly during runtime
- Handle errors gracefully
- Containerize for easy deployment
- Test your setup end-to-end
By the end, you’ll have a fully automated workflow that lets your agent spin up with zero manual steps and leverage MCP servers reliably.
Step 1: Install & Run Your First MCP Servers
Goal: Get two MCP servers running locally so you can experiment.
-
Choose simple servers
- Knowledge Graph Memory: structured memory store
- Fetch: web content retriever
-
Use Docker (download Docker Desktop if needed):
docker run -d --name knowledge_graph -p 9002:80 mcp/knowledge-graph:latest docker run -d --name fetch -p 9210:80 mcp/fetch:latest -
Verify health:
curl http://localhost:9002/health
curl http://localhost:9210/health
You should see
{"status":"ok"}for each. This confirms the servers are live.
Step 2: Create Your Central Configuration File
Goal: Centralize all endpoint URLs in one place.
- Create
mcp-config.yamlat your project root. - Add entries under logical roles:
mcp_servers: memory: - name: knowledge_graph url: http://localhost:9002 io: - name: fetch url: http://localhost:9210 - Why? Later you’ll add more servers here (e.g., file system, Slack), keeping your code unchanged.
Step 3: Validate Connectivity on Startup
Goal: Catch misconfigurations early with a simple health check.
- Write
health_check.py:import yaml, requests, sys cfg = yaml.safe_load(open("mcp-config.yaml")) for role, servers in cfg["mcp_servers"].items(): for s in servers: resp = requests.get(s["url"] + "/health") if not resp.ok: print(f"❌ {s['name']} ({role}) is down.") sys.exit(1) print("✅ All MCP servers are healthy.") - Run before your agent:
python health_check.py && python run_agent.py - Fix issues until you see the success message.
Step 4: Automatically Register Servers in Your Agent
Goal: Let your agent discover servers at runtime.
- Load your config in bootstrap code:
import yaml, requests cfg = yaml.safe_load(open("mcp-config.yaml")) registry = {} - Call MCP “discover” endpoint:
for role, servers in cfg["mcp_servers"].items(): for s in servers: r = requests.post("http://localhost:8000/mcp/discover", json={ "name": s["name"], "url": s["url"] }) if r.ok: registry[s["name"]] = s["url"] - Result:
registryholds each server’s base URL for later calls.
Step 5: Trigger MCP Calls in Your Code
Goal: Simplify making HTTP calls to your servers.
- Helper function:
def call_mcp(server_name, endpoint, payload): url = registry[server_name] + endpoint return requests.post(url, json=payload).json() - Example usage (add a memory entry):
response = call_mcp("knowledge_graph", "/memory/add", { "entity": "Project X", "attributes": {"deadline": "2025-06-30"} }) - Wrap in
try/exceptto prevent crashes on errors.
Step 6: Add Simple Retry & Fallback Logic
Goal: Improve reliability when servers occasionally fail.
- Retry wrapper:
import time, random def safe_call(name, ep, data): for i in range(3): try: return call_mcp(name, ep, data) except: time.sleep((2**i) + random.random()) return None - Fallback strategy:
Ifknowledge_graphwrite fails, log it and continue; for reads, consider using another memory server if available.
Step 7: Containerize Your Entire Workflow
Goal: Run your agent and MCP servers with a single command.
- Create
docker-compose.yml:version: "3.8" services: agent: build: . command: ["python", "run_agent.py"] depends_on: - knowledge_graph - fetch knowledge_graph: image: mcp/knowledge-graph:latest ports: ["9002:80"] fetch: image: mcp/fetch:latest ports: ["9210:80"] - Launch:
docker-compose up --build
Step 8: Test End-to-End
Goal: Verify that your agent can make and use MCP calls.
- Memory test:
“Remember that sprint review is July 15.”
Check via:curl http://localhost:9002/memory/query?entity="sprint review" - Fetch test:
“Fetch https://example.com”
Observe markdown output in console logs.
Step 9: Monitor & Iterate
Goal: Keep your workflow healthy and extendable.
- Logging: Add timestamps and server names to every MCP call log.
- Alerts: Use email or Slack hooks in your health check script.
- Expand: Add servers (Semantic Memory, File System, Slack) by updating
mcp-config.yamland restarting via Docker Compose.
Conclusion
You’ve built a fully automated MCP workflow! No more manual endpoint tweaks—just spin up Docker, and your agent:
- Discovers its MCP servers
- Makes calls behind the scenes
- Retries and fails over gracefully
- Keeps you informed via logs and alerts
Happy building your next-generation AI agent!
Related Tools
Useful tools for this topic
If you want to turn this article into a concrete next step, start with one of these.
Solution Type Quiz
PlanningDecide whether your use case is better served by automation, a chatbot, RAG, a copilot, or a more capable agent.
Open toolReadiness Scorecard
PlanningAssess whether the workflow, data, access, and risk controls are mature enough for a real pilot.
Open toolComplexity Estimator
PlanningEstimate how much build and operational complexity a proposed AI system is likely to create.
Open toolSubscribe to AgentForge Hub
Get weekly insights, tutorials, and the latest AI agent developments delivered to your inbox.
No spam, ever. Unsubscribe at any time.